Install Dianoga tools in Sitecore
Dianoga is a very helpful tool that allows us to compress images and use the new image formats in our Sitecore site.
For installing it, we can do it manually or using a project in our Sitecore solution.
In the solution, we need to add the nugget package called Dianoga For Sitecore using the nuget.org source.
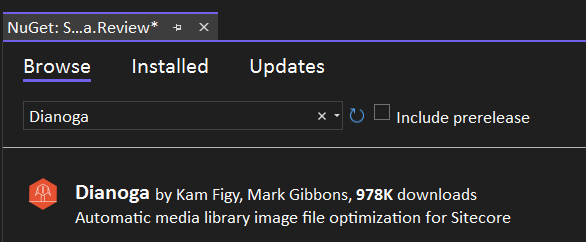
Choose the latest version and follow the installation process.
This will add the following to your project.
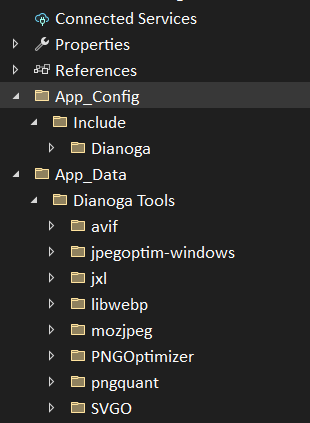
In the App_Config/Include folder will add all the config files need to work with Dianoga.
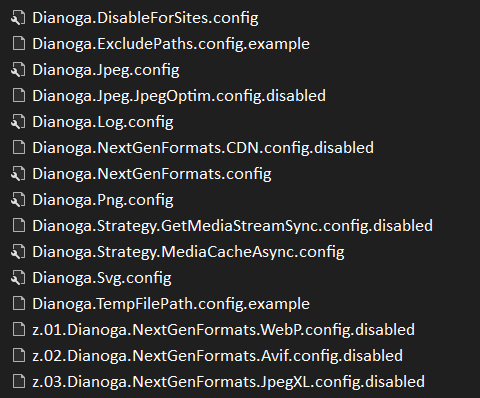
So, for example, if you want to optimize Jpeg files, remove the disabled extension from this file: Dianoga.Jpeg.JpegOptim.config.
If you wanna use on your website the new webp format, rename this file z.01.Dianoga.NextGenFormats.WebP.config.disabled to Dianoga.NextGenFormats.WebP.config.
So after completing your configurations depending on your website requirements, just deploy it to the upper environments, but maybe you will need to create some transformation files in order specific config files in order to adapt the file for a certain environment.