Configure Headless SXA in Sitecore Standalone
I know is simple when you are using docker because it comes already configured and ready to work with, but in some projects, we do not have the luck of using it.
So let’s see how to do it manually. In this example, I’m gonna use Sitecore 10.3.1.
- Of course, the first step is to download and install Sitecore 10.3.1
- you can download it from here https://developers.sitecore.com/downloads/Sitecore_Experience_Platform/103/Sitecore_Experience_Platform_103_Update1
- Download and install SPE and SXA module
- Download and install Sitecore Headless Rendering module
- Download and install Sitecore CLI 5.2.113
- Download it from here https://developers.sitecore.com/Downloads/Sitecore_CLI/5x/Sitecore_CLI_52113
Ok, so after install all and configure all the previous steps, let’s continue with the internal configurations
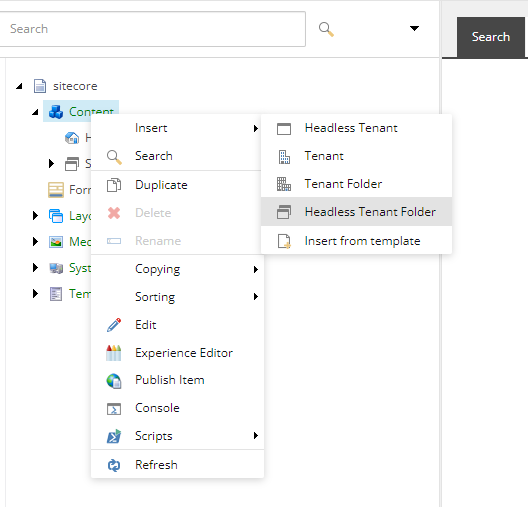
- Let’s go to the content tree, right-click on the “Content” item, select “Headless Tenant Folder”, and enter the name you want to configure it.
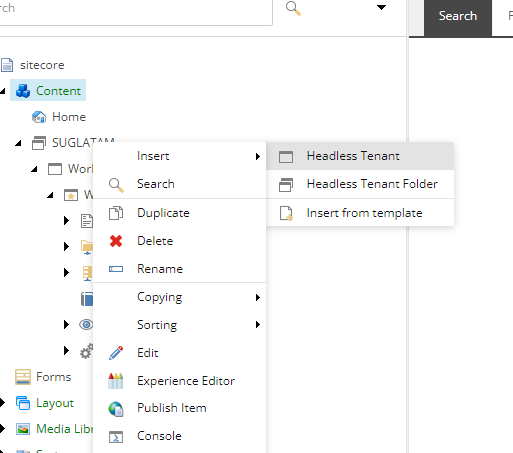
- Inside the folder, let’s create a headless tenant. in the same way right-click on it and select “Headless Tenant” option and enter the name you want.
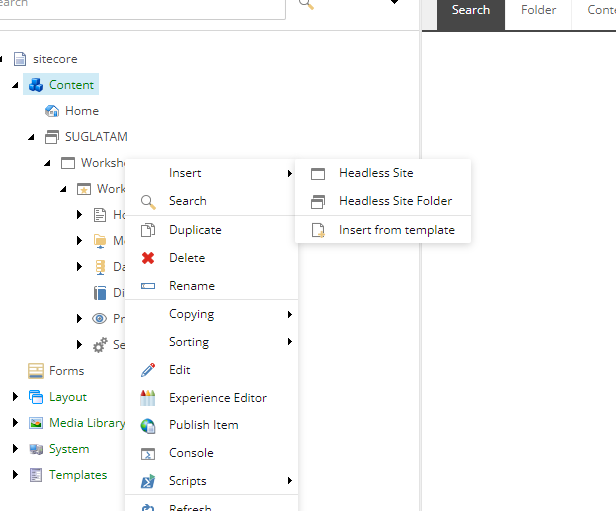
- And finally in the same way right-click in the Tenant Item and select “Headless Site”
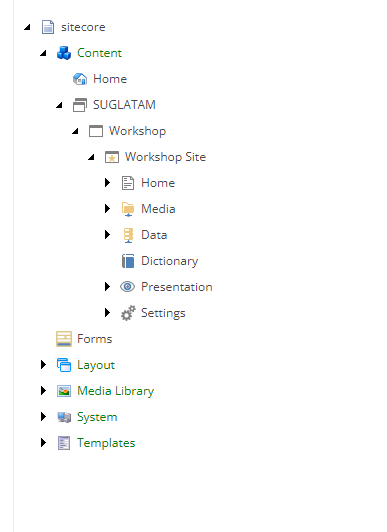
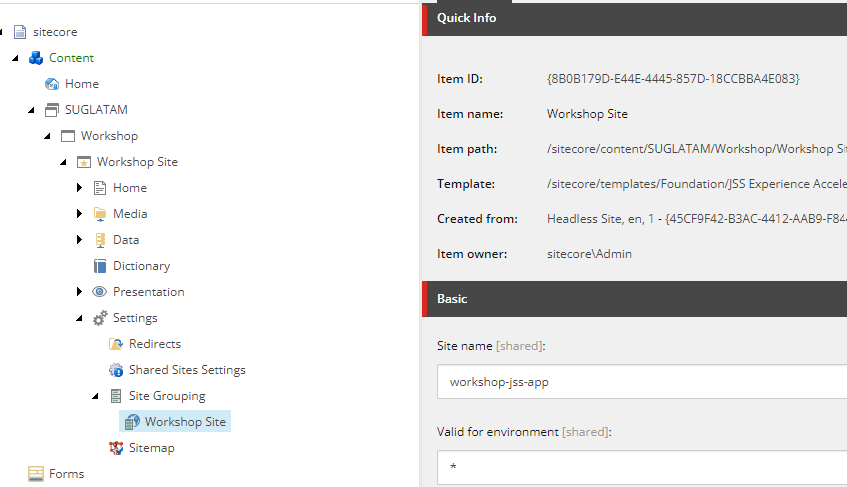
Then, just follow the steps in the wizard and create the new site, it should look like this
Modify the “Site name” property inside the site grouping to match your headless application like Nest.js or Astro.
And finally, create the API for your headless app.
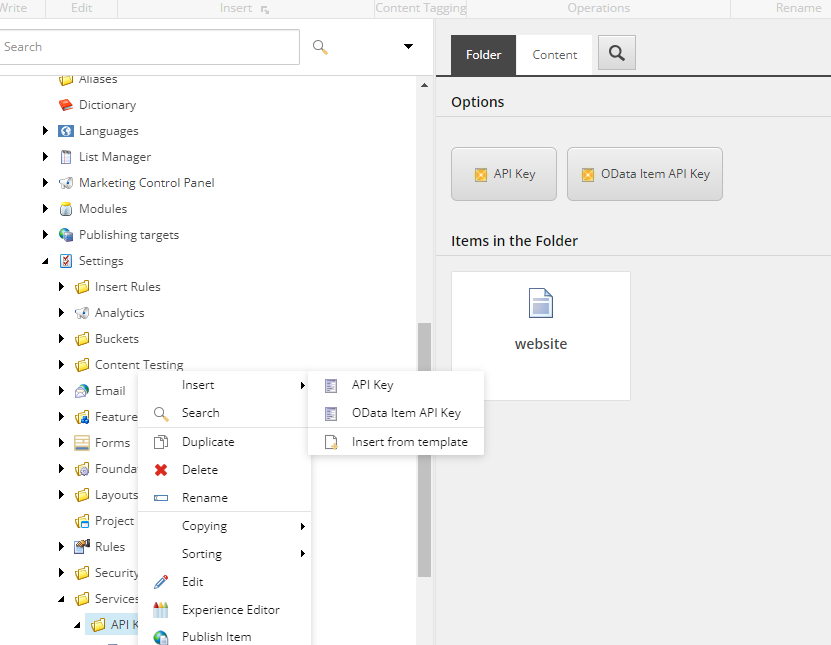
- Go to /sitecore/system/Settings/Services/API Keys
- Choose API Key options
- Write the name you want to it
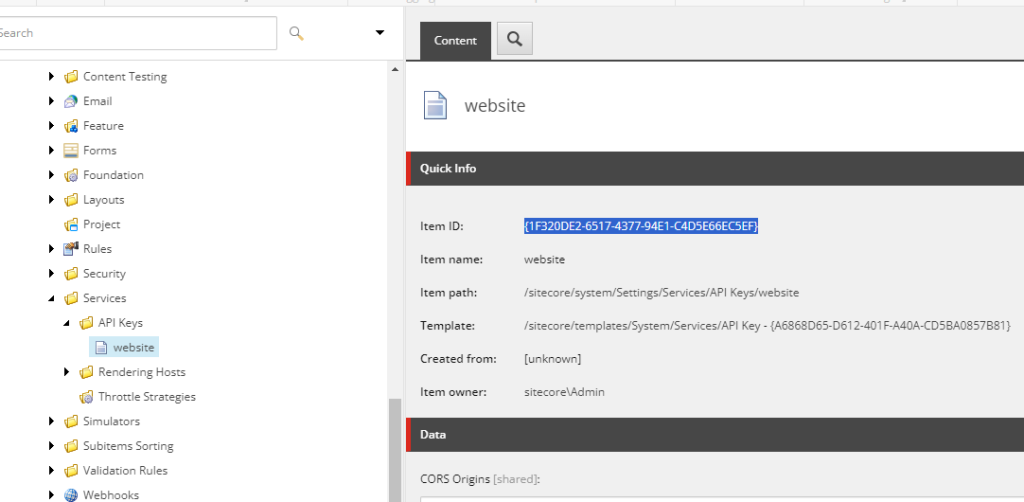
so, after creating it, the Item ID is gonna be the API key for the next steps implementing your headless API and executing or making calls through the Graph QL service
And that is it, happy coding 😀