Implementing Next.js application with Sitecore SXA Headless
To work with the Sitecore Next.js version you must have installed the following pre-requisites:
- Node.js 20+ version
- JSS CLI
and we have to have defined previously the API key in Sitecore inside this path /sitecore/system/Settings/Services/API Keys
So, with the next steps you can initialize your front-end application:
- Create a directory for your app
- Using the Command console or Powershell console go to the previous directory
- Run the following command
- npx create-sitecore-jss nextjs
- choose nextjs template in the list
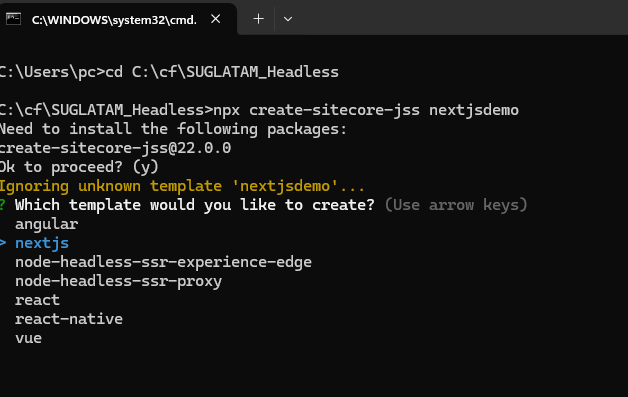
then follow the instructions and it should look like the following image, do not forget to choose nextjs-sxa option.
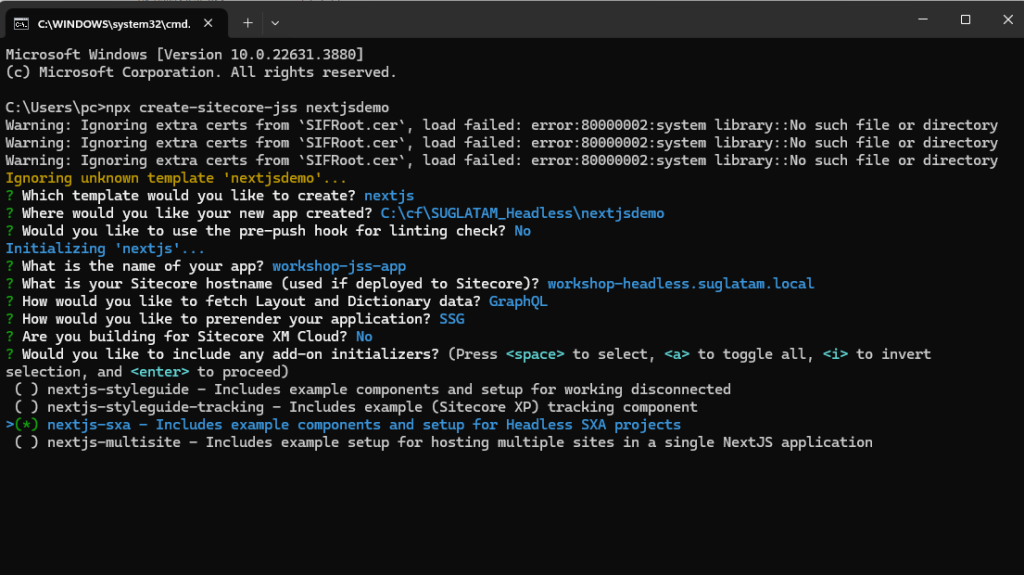
wait for it until it finishes.
The step is to connect our application with Sitecore, so let’s run the following command and follow the instructions.
NOTE: you must have JSS CLI running globally otherwise you must install it locally in the application directory with this command npm install @sitecore-jss/sitecore-jss-cli
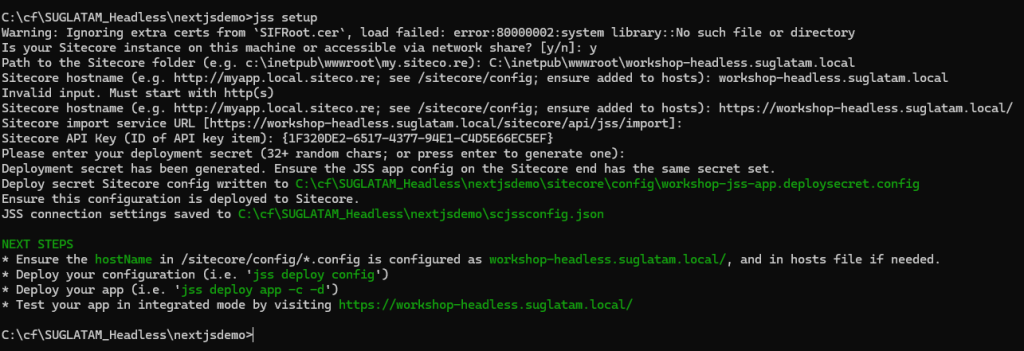
Now, run the command: jss setup
it should look like this
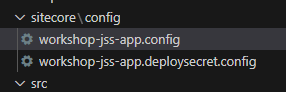
Now, open your app using Visual Studio code and you will see this file scjssconfig.json, which contains the values written in the “jss setup” command execution.
Do not forget to configure your .env file with the same values
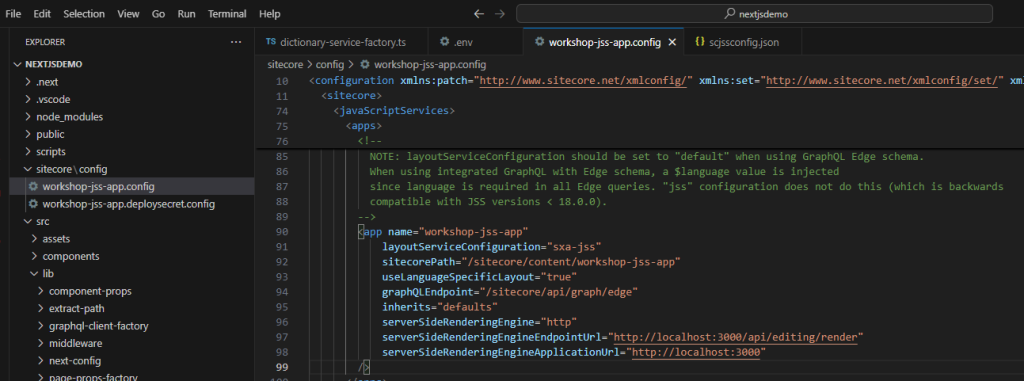
Now, inside the application directory go to /sitecore/config directly and edit the following file corresponding to your application (the first in this list)
modify the line 91, change the property layoutServiceConfiguration with the value default to the value “sxa-jss”
Then, deploy your configurations to your sitecore instance with the following command: jss deploy config
And finally, you need to modify the dictionary-service-factory.ts , in this file you must add the rootItemId and jssAppTemplateId because you’re working with SXA
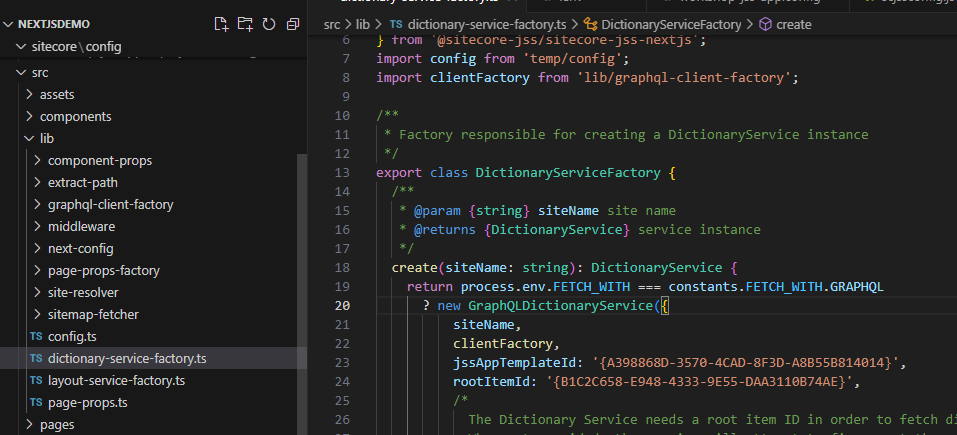
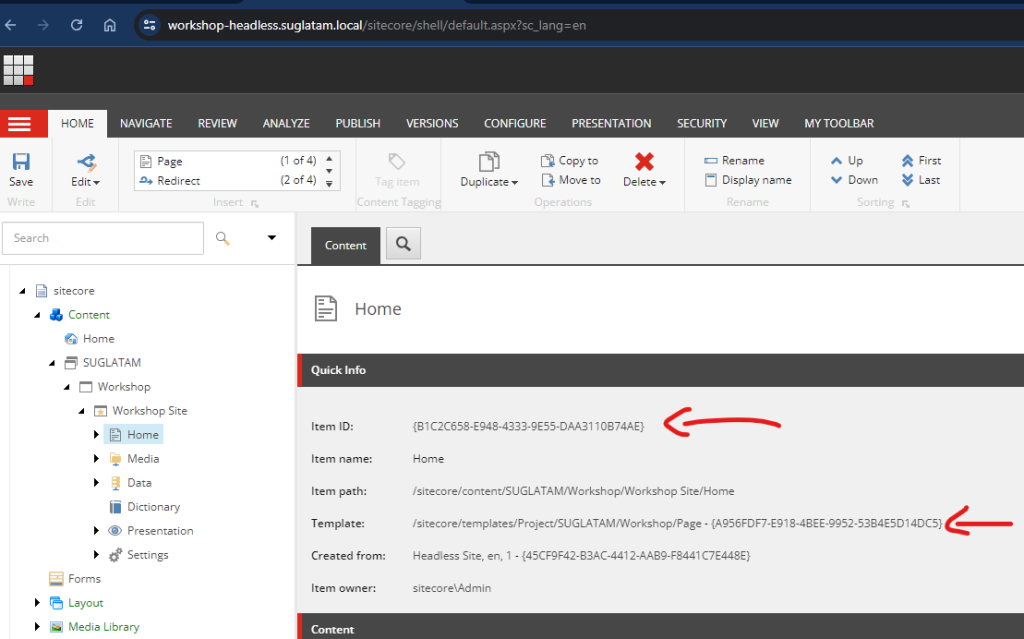
From where are these values? you will find it here in your Sitecore application:
rootItemId: is the home page ID
jssAppTemplateId: is the template ID of the home page item
NOTE: just to clarify you must copy and paste your own values.
We are almost done but before running our application, we have to copy the SIFRoot.cer file in the application root directory.
you can export it from your machine repository.
Now, finally, run this command jss start:connected and that is it.
Happy coding 😀