Migrate Sitecore headless site to XM Cloud
In this new era where cloud computing is common, we want to save resources and time managing our apps, and all new front-end frameworks are capable of doing a lot of things, this is where we use “Headless” applications.
Since Sitecore released the JSS version of their CMS, the development of a website changed a lot beginning with the way we commonly implement our components and functionalities.
With the release of XM Cloud, all sites created and maintained in JSS can be migrated to it, but with a difference, if you are using an XP version of Sitecore (all features including analytics) is something that you have to keep in mind because you are going to migrate to XM version of Sitecore (Only the CMS) with SXA, that means you need to re-implement some functionalities if so.
Sitecore Releases a new tool to help us execute the migration of our website content and configurations (templates, renderings, etc). You can download the latest version at this link: https://developers.sitecore.com/downloads/xm-cloud
Now, let’s see how you can use it to connect your JSS instance to your XM Cloud Project. In this tutorial, I’m gonna use the graphic interface.
- Download the file in a folder on your computer.
- Unzip the file.
- In your Sitecore instance, you must install the following package SitecorePackage.zip. This package will create this new directory in the root folder: “_MigrationHarness”, this package contains the prerequisites to execute the migration tool.
- Take a backup of your web.config file.
- Edit the `Web.config` file and insert the following lines by going to `<configuration>` element and then `<runtime>` element and then `<assemblyBinding xmlns=”urn:schemas-microsoft-com:asm.v1″>` element.
- Insert the following code into it
<probing privatePath="_MigrationHarness/bin" />
          <dependentAssembly>
            <assemblyIdentity name="protobuf-net" publicKeyToken="257b51d87d2e4d67" />
            <codeBase version="2.4.0.0" href="_MigrationHarness/bin/protobuf-net.dll" />
          </dependentAssembly>
          <dependentAssembly>
            <assemblyIdentity name="Microsoft.Extensions.Logging.Abstractions" publicKeyToken="adb9793829ddae60" />
            <codeBase version="6.0.0.0" href="_MigrationHarness/bin/Microsoft.Extensions.Logging.Abstractions.dll" />
          </dependentAssembly>
          <dependentAssembly>
            <assemblyIdentity name="System.Buffers" publicKeyToken="cc7b13ffcd2ddd51" />
            <codeBase version="4.0.2.0" href="_MigrationHarness/bin/System.Buffers.dll" />
          </dependentAssembly>
          <dependentAssembly>
            <assemblyIdentity name="System.Memory" publicKeyToken="cc7b13ffcd2ddd51" />
            <codeBase version="4.0.1.2" href="_MigrationHarness/bin/System.Memory.dll" />
            <bindingRedirect oldVersion="4.0.1.1" newVersion="4.0.1.2" />
          </dependentAssembly>
          <dependentAssembly>
            <assemblyIdentity name="System.Runtime.CompilerServices.Unsafe" publicKeyToken="b03f5f7f11d50a3a" />
            <codeBase version="6.0.0.0" href="_MigrationHarness/bin/System.Runtime.CompilerServices.Unsafe.dll" />
            <bindingRedirect oldVersion="4.0.4.1" newVersion="6.0.0.0" />
          </dependentAssembly>
Now, let’s use the migration tool to move our content to our XM Cloud project
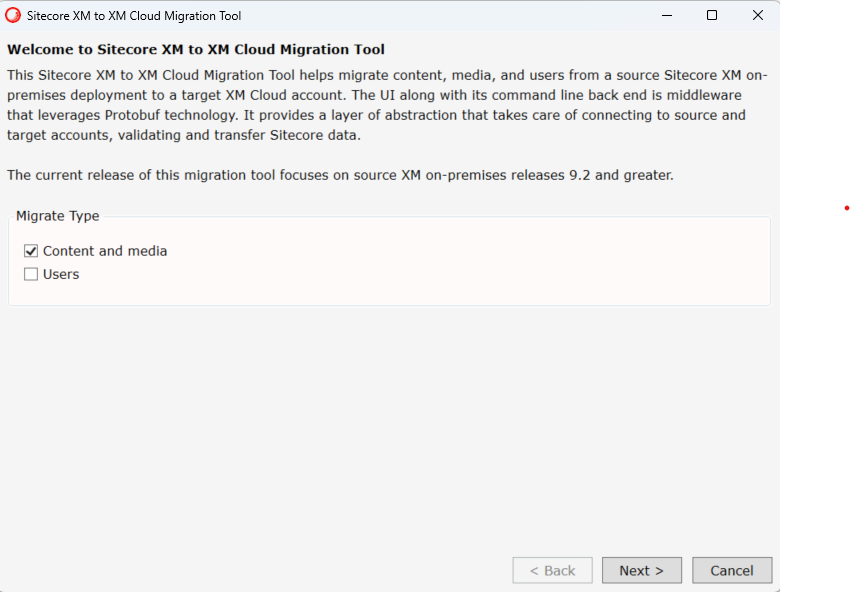
Execute the file XMMigrationGUI.exe and you will see something like this
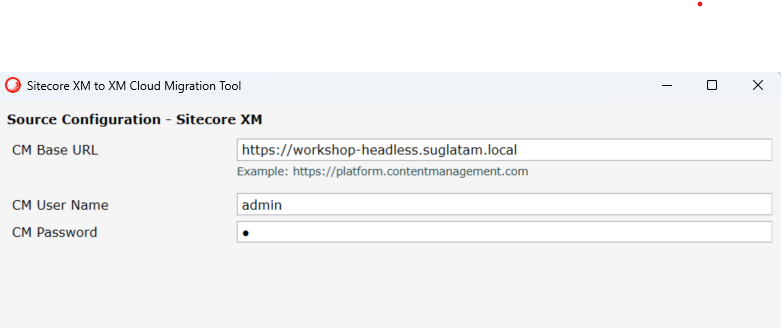
In the next step please add the CM Base Url, and the user and password for the admin user
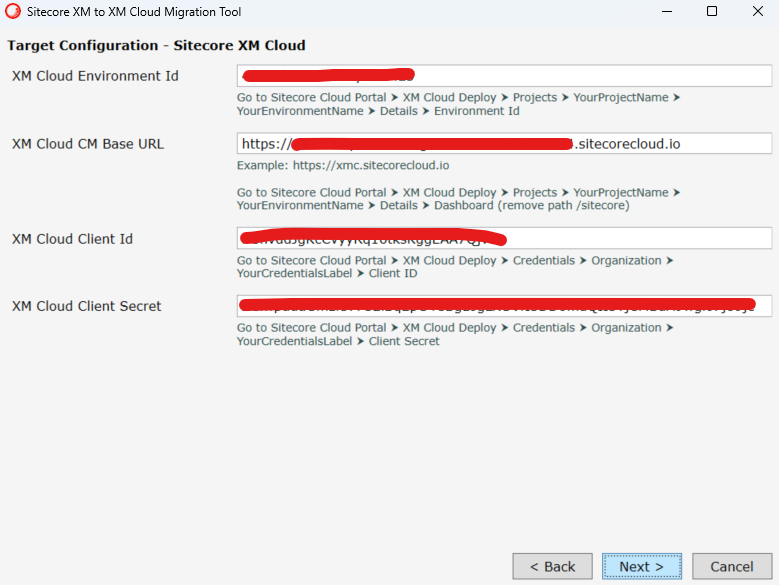
In the next step, add the IDs and secrets required by the tool to connect to your project in XM Cloud, each field has instructions from where you have to take each correspondent value
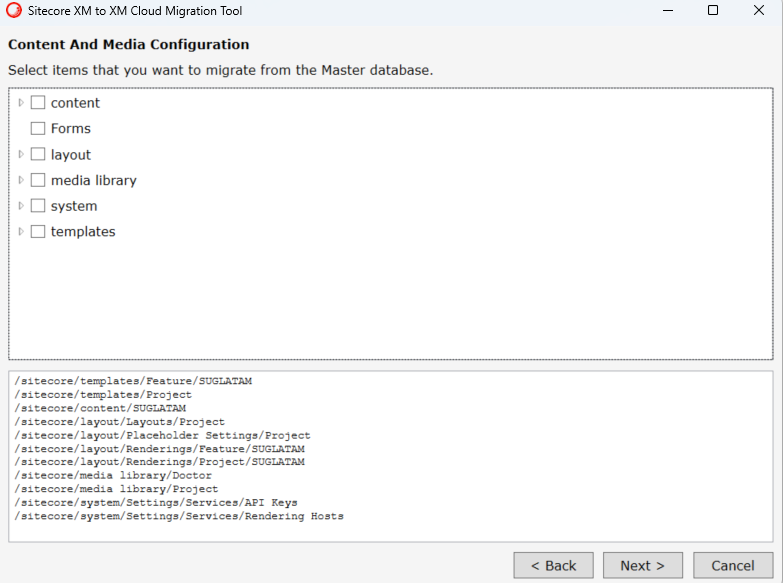
If all is ok, you will see a representation of the content tree in your local environment in the tool, where you must select all you want to copy to the cloud instance.
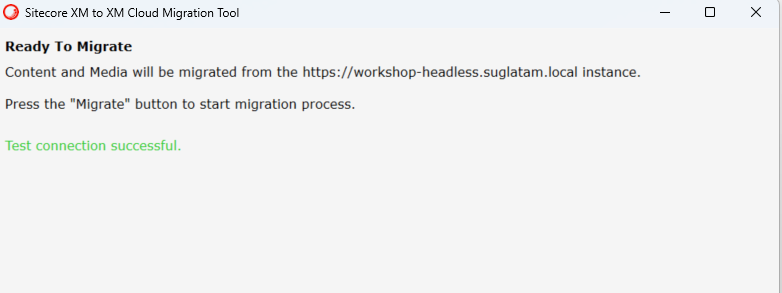
After testing, the connection, the tool will tell you if is ok or not to process to copy of the items to the cloud.
Click on the migrate button and wait for it
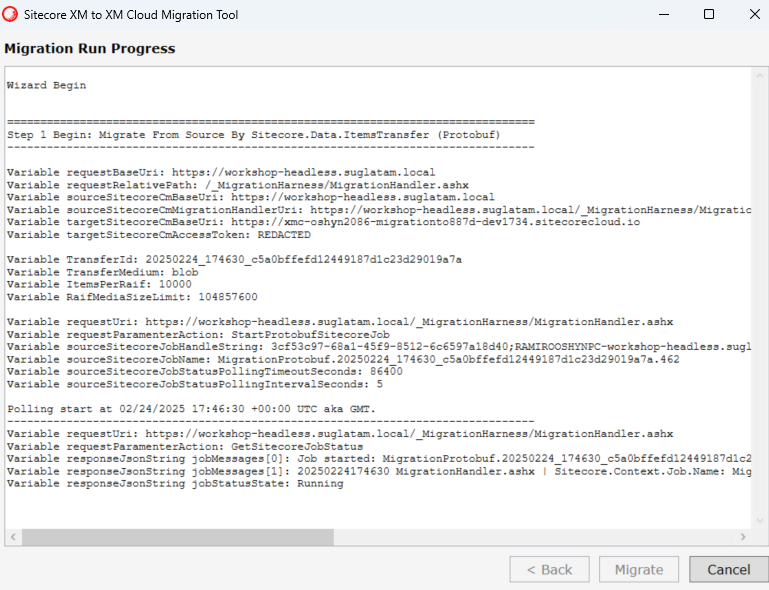
If all goes ok, you must check in your XM Cloud instance all the content selected and copied.
And that is it.
Have fun! 🙂